Pages

Showing posts with label Cheers to the Year. Show all posts

Embossing Paste and Ink Refills

This weekend's classes were really fun but they got a little messy when the embossing paste, ink refills and glitter came out to play.

Did you know that you can colour the Embossing Paste and have it co-ordinate with any of the Stampin' Up! cardstock? There are so many different things you can do with the white stuff -
  • Use it plain
  • Colour it with Ink Refills
  • Do an ombre effect with the Ink Refills
  • Glitter it
Plus other things we didn't get around to trying in the class.

Here's one of my samples that wasn't made at the class.

Embossing Paste and Ink Refills

This weekend’s classes were really fun but they got a little messy when the embossing paste, ink refills and glitter came out to play.

Did you know that you can colour the Embossing Paste and have it co-ordinate with any of the Stampin’ Up! cardstock? There are so many different things you can do with the white stuff –

  • Use it plain
  • Colour it with Ink Refills
  • Do an ombre effect with the Ink Refills
  • Glitter it
Plus other things we didn’t get around to trying in the class.

Here’s one of my samples that wasn’t made at the class.

Embossing Paste, Birthdays, Birthday Blooms
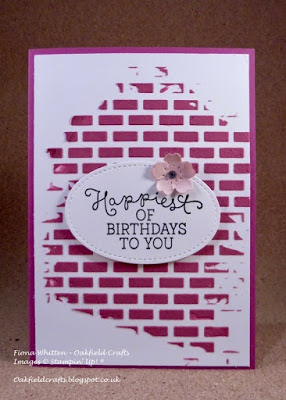
I mixed a little of the Embossing Paste with a couple of drops of Berry Burst ink refill. When completely mixed, the paste was spread across the Whisper White cardstock through the brickwork mask from the Pattern Party Decorative Masks. I didn’t want to cover the whole of the card front so I was deliberately random as to where I spread the paste.
I really like this grunge look with the oval sentiment in the centre.
The sentiment from the Birthday Blooms stamp set was stamped in Black Archival Ink and then cut out using an oval from the Stitched Shapes Framelits.  To finish, I added a Powder Pink flower that had been cut out using a die from the Bloomin’ Heart Thinlits.
This was a pretty easy card to make and could easily be replicated in more masculine colours and with a more masculine font for the sentiment.
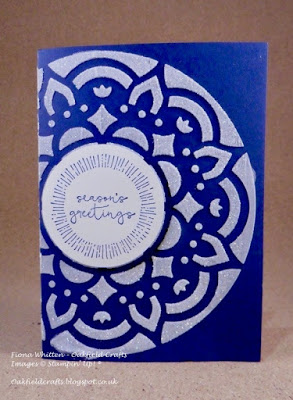
Here’s one of the cards that was made at class.
The Night of Navy cardstock had the embossing paste spread over it though the large medallion from the Pattern Party Decorative Masks and then Dazzling Diamond Glitter was sprinkled over it before the paste had a chance to dry.
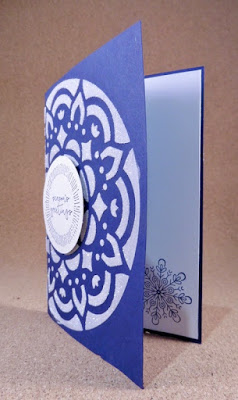
You can just make out the sparkle of the glitter on this last picture. 
Do you live in the UK and fancy giving these cards ago and trying the embossing paste for yourself? You can order it (and the masks and palette knives) from my Online Store and if you do, I’ll send you the link to the PDF for this weekend’s class instructions. The printable instructions are for 4 cards using the colouring, ombre, glitter and square mask effects. 
You can order by clicking any of the supply list pictures below.
Fiona xx

CAS Colours & Sketches - Challenge # 240


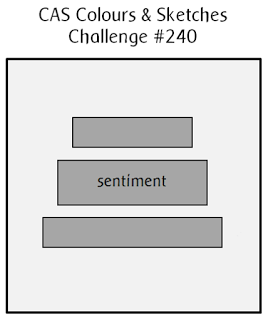
Hello and welcome to the second of my challenges over at the CC&S blog. The second Tuesday of the month means that it's time for a sketch challenge, and this is what I came up with.


I had lots of ideas spinning around in my head when I designed the sketch (some weeks ago) but when it actually came to making a project nothing seemed to work out how I wanted it. Even the card below is one that I salvaged.

CAS Colours & Sketches - Challenge # 240

Hello and welcome to the second of my challenges over at the CC&S blog. The second Tuesday of the month means that it’s time for a sketch challenge, and this is what I came up with.

I had lots of ideas spinning around in my head when I designed the sketch (some weeks ago) but when it actually came to making a project nothing seemed to work out how I wanted it. Even the card below is one that I salvaged.

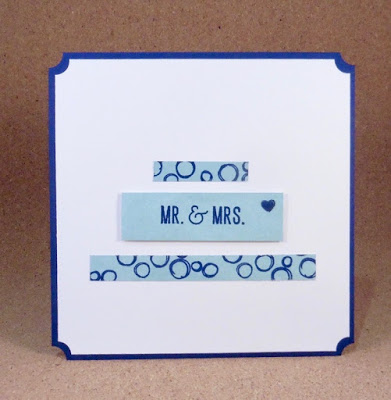
My original intention was to make a single layer card. I used Washi Tape to make a mask on my 5-1/2″ x 5-1/2″ square of Whisper White cardstock, and then sponged the spaces with Soft Sky ink. Then using Night of Navy ink, I stamped the bubbles from the Playful Backgrounds stamp set on the top and bottom strips and a sentiment from the Cheers to the Year stamp set on the middle one. The idea was to carefully peel off the washi tape and I’d be left with one stamped layer. Sadly, that’s not what happened. The Washi Tape decided to lift some of the paper at the edge and what’s more (and even worse) there must have been a tiny gap between the strips of washi because there was ink where it shouldn’t be. Disaster. The question then was to bin or not to bin my efforts. In this instance and being short on time (family things to do on a Sunday afternoon) I decided to salvage my efforts and simply cut out the strips and use them on a clean piece of Whisper White cardstock.

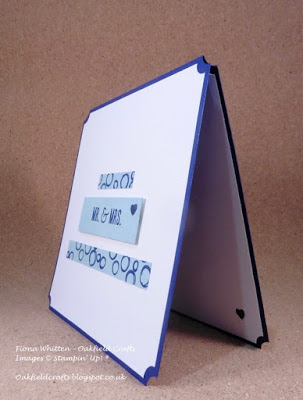
Before putting the card together, I punched the semi-circle corners with a 1/2″ circle punch. I punched the base card first and then simply lined up the Whisper White behind to punch an identical semi-circle. Both the front and inside pieces of Whisper White were then glued to the card.

The top and bottom strips on the front are simply glued to the Whisper White cardstock and the middle strip is adhered using Stampin’ Dimensionals.

Cheers to the Year, Wedding card
I added a Night of Navy enamel heart from the Regals Enamel Shapes to both the sentiment and inside the card to add a little bit of additional interest.
Despite the card not being as I first envisaged it, I am pleased with how it looks.
Don’t forget to check out the projects from the other Design Team Members and if you fancy taking part in the challenge you will find the link to do so on the CC&S blog. Before you go though, please feel free to leave a comment. 
Fiona xx
My project supply list to shop on-line is