Pages

Showing posts with label Hello You. Show all posts

Sketch Challenge project

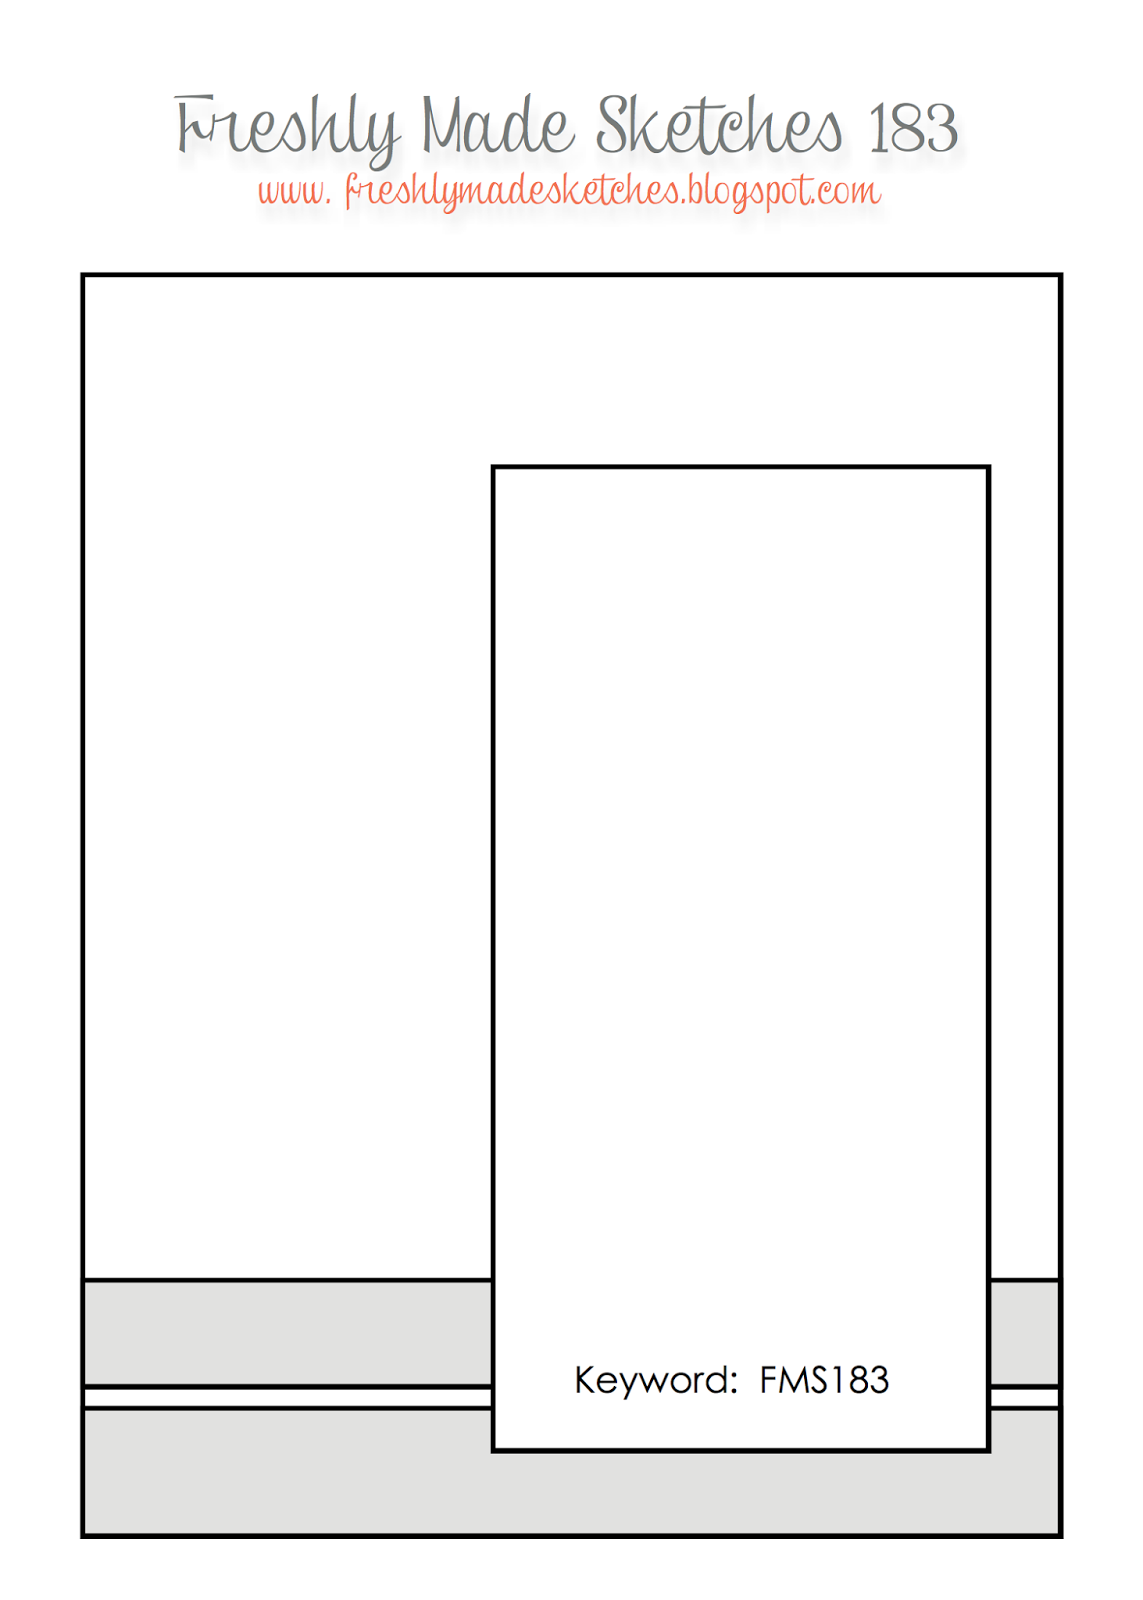
There's so much going on at the moment that keeping up with things is making my life very interesting. One of the things I'm conscious of is that I've not taken part in a challenge recently, so yesterday I had a quick peek around the sites (not sure that there really is such a thing as a quick peek when it comes to paper crafting) and I found a challenge on the Freshly Make Sketches site that I quite fancied.

This is their Freshly Made Sketches Challenge # 183.


I have however put my slant on it by making a landscape card rather than a portrait one. The reason being was that I wanted to use the Hello You Thinlits Dies and the words are a little too big to fit portrait. I used Beach House Washi Tape, which is one of the items on the Retirement List, to make the stripes.

Here's my take on the sketch.


The " YOU" comes from the Crazy About You stamp set. This is a great set because you can make up our own greeting like above. Just so you know, the die from the Hello You Thinlits  should actually say "thanks" but I cut off the S. It's only card stock after all.

I also made another card along similar lines using the same Washi Tape and Thinlits but it does not quite follow the sketch so I've not entered it into the challenge. Either way, both cards were simple and quick to make and I just love the Real Red and Crushed Curry combination.


As always, please feel free to leave comments.

My Secret Smile

This is one of the cards that was made at a recent Team Training event. It's a technique that is fun to do but there is a fair bit of work involved.  It's known as Secret Letters or an Embedded Stacked Technique.

It's nothing really complicated, simply repetitive and a little bit fiddly. I could have made things easy for everyone by using one of the dies from the Hello You Thinlits, but no, I opted for the Little Letters  Thinlits instead!


To make the card follow these steps:

1. Stamp the card front first. Block image stamps work the best, as they will give you a block of colour.
2. Using the framelits, cut out the word from the stamped card front - make sure you keep all of the bits.
3. Cut out your word four more times from some Whisper White card stock (that was the mean bit as the word on the card above has 5 letters so that's 20 letters in Whisper White to be cut).
4. Glue your stamped card front onto a piece of co-ordinating card stock.
5. Glue in the first set of Whisper White letters into the spaces. If you have something like an "o" or another letter like an "a" or an "e"then you need to glue in the centre bits that were cut out of the card front. This is because you don't want those bits to stick out like sore thumbs.
6. Continue to glue and stack the actual letters ending with the letters that have the stamped image on them.
7. Finish off the card as you desire.

The Stampin' Up! supplies I used to make this card were:

Built for Free Using: My Stampin Blog


I plan for us to make a version of this card at April's All Day Craft Event but we will be using the Crazy About You stamp set and the Hello You Thinlit Dies. I'll let you know how we get on after the event. If you are interested in attending please contact me as there are a couple of spaces still left.

Happy Friday - Crazy about You

Happy Friday to you all. It's almost the weekend and that means I have a class tonight and tomorrow morning, the first of the New Year.

This week has been spent catching up on things. All the new catalogues went in the post on Tuesday and hopefully you all now have your copy, and I've been busy photographing and writing the instructions for classes as well as making a start on projects for the Sandown Show later this month.

So, today it's just a quick card made using the Crazy About You stamp set and the co-ordinating Hello You Thinlits Dies and the new Flower Medallion punch.


I stamped the flower from the Crazy about You stamp set twice in Bermuda Bay and the swirled scallop circle image once in Crushed Curry.  The bottom flower was simply punched out using the Flower Punch Medallion punch and the top part was fussy cut from the centre of the second Bermuda Bay flower. The Crushed Curry swirled scallop circle was punched out using the 1-3/4" Scallop Circle Punch and then I cut into the "petals" using my paper snips.

The background paper is from the Birthday Bash Specialty Designer Series Paper, another one of my favourites from the new Spring/Summer Catalogue.

It looks like I'm still managing to stick to my New Year's resolution to use just one stamp set per card!!

Details of all the products used to make this card are as follows:


Built for Free Using: My Stampin Blog