Pages

Showing posts with label Tag a Bag Gift Bags. Show all posts

Wonderous Wreath - Card and Box

It's been a busy week so far, how about you?

After a bit of a break, my monthly classes start again on Friday evening. We will be using some of the goodies from the new(ish) Annual Catalogue. I'm still working on a couple of projects for the weekend and I don't want to spoil the surprise for those coming so I will share them with you another time.

I've also been playing with some of my new goodies from the Autumn/Winter Catalogue in preparation for Saturday's Blog Hop.  Obviously I'm going to save that project for Saturday but here's another that I have been working on.


I've also taken time to set up the photo cube/booth in my craft room on my son's desk. He's now in college in Chicago so I have use of the desk for the time being.  I suspect that I am going to have to move the lights about a bit more because there are more shadows than I wanted.

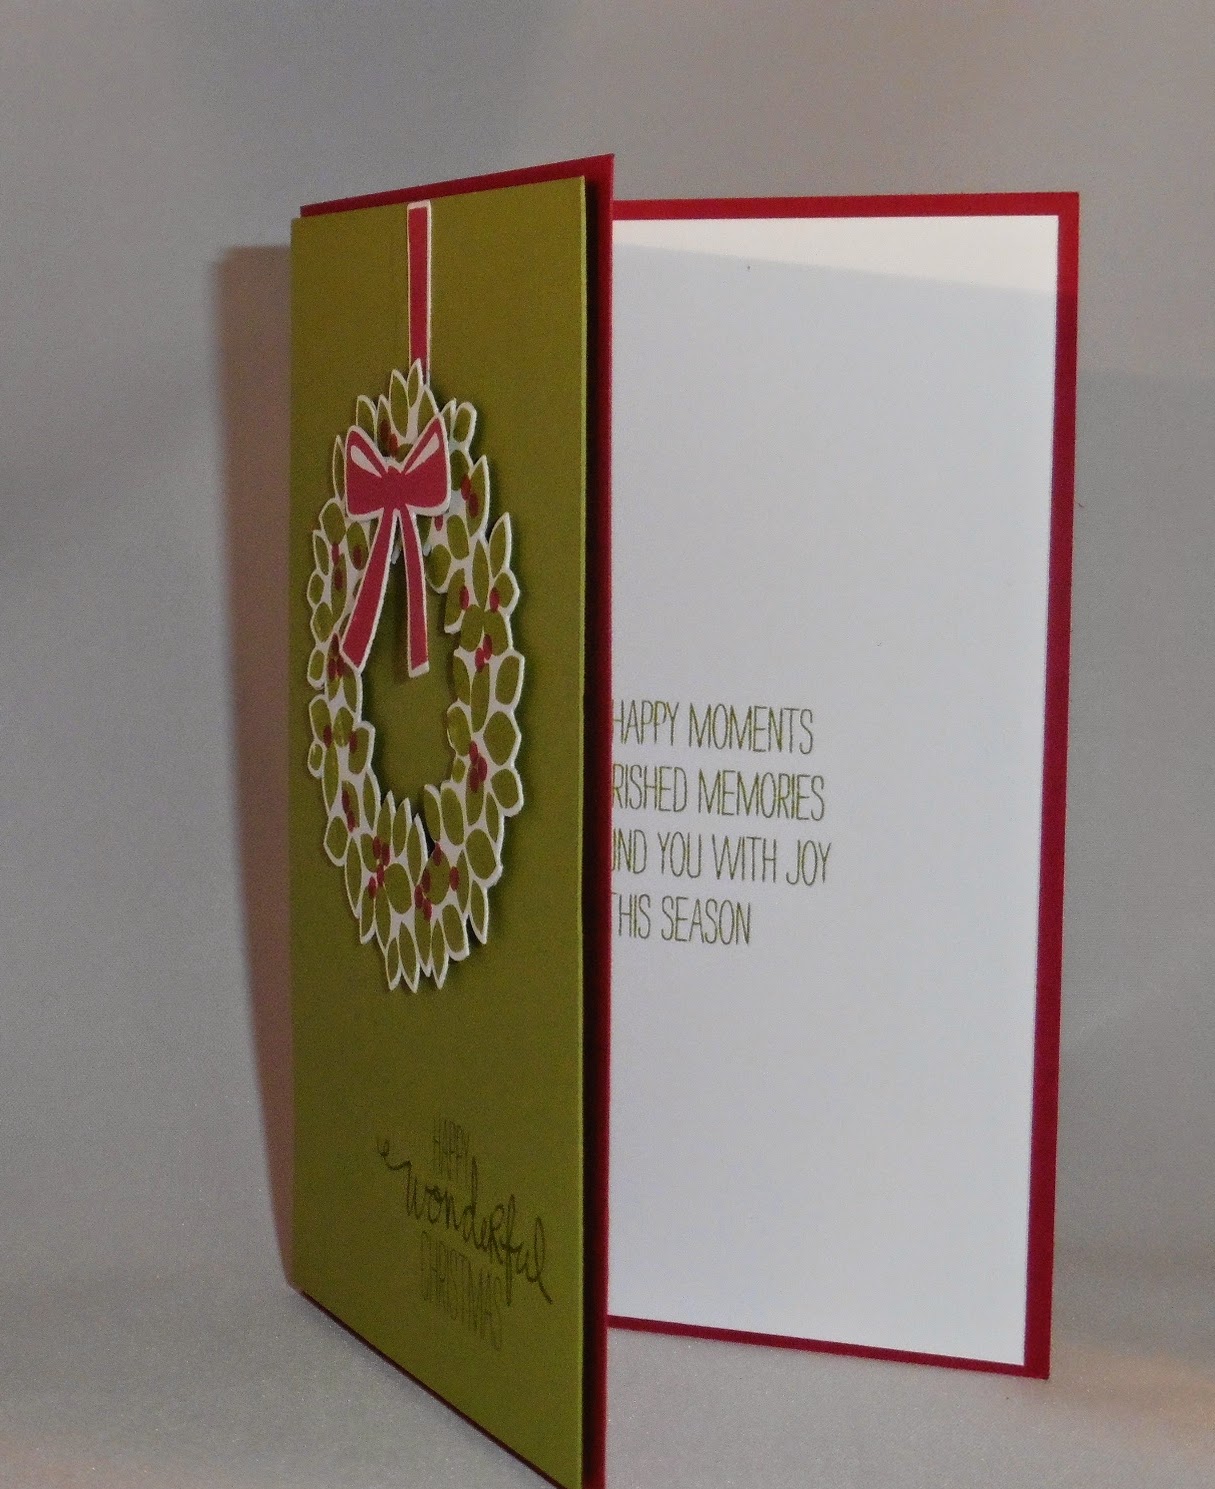
These projects were made using the Wonderous Wreath Bundle (Photopolymer stamp set and matching framelits)


A side view so that you can also see the greeting stamped on the inside of the card. The wreath is adhered to the card front with Dimensionals to give it some extra depth.


The box is one of the Tag a Bag Gift Boxes and I've decorated it with a cut down Polka Dot Tag a Bag Gift Bag and some paper from the Trim the Tree Designer Series Paper Stack. If you are wondering how I manged to cut the hole in the gift bag, I simply adhered the wreath first and then cut away the middle.

I love this Bundle and can think of tons of projects that I want to make. I just need the time to be able to do so.

Here's the details of the items used for the two projects:


I sent out an email last night to everyone who have said that they are interested in attending classes.  The email details the classes for the rest of the year and by popular demand I have changed the two regular monthly classes in October to mini Christmas Stamp-a-Stacks. If you are interested in coming along please let me know as space will be limited to 12 people.

Chocolate extraganza

Last weekend I held the penultimate classes for 2013 - the theme being Christmas Gifts and Packaging. It turned out to be a bit of a chocolate fest because three out of the four projects involved chocolate in some shape or another.

I'd like to share three of the projects (only two of them involved chocolate) because I've already shared one of them - the Table Treats, see my blog of 30 October (there is a link in the comments section of that post to the instructions).

This one involved chocolate
and a piece of 12" x 12" Old Olive card stock

The cracker was made with the help of the Envelope Punch Board. On first sight the instructions looked a little daunting but everyone soon realised that they were in fact pretty straight forward. The difficulty (all mine) was working out the scoring and punching measurements so that the box of chocolate (Maltesers, and I guess I should add other forms of chocolate are available!) fits into the middle section of the cracker leaving enough card stock for the ends.


This too involved using the Envelope Punch Board

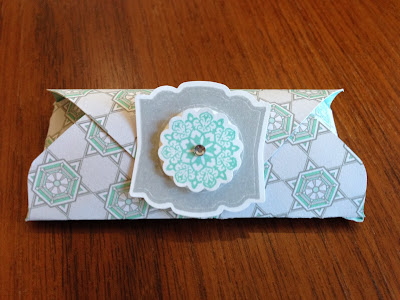
This little project can be used as a treat holder to go on the Christmas Table or as a Stocking Filler. It has three chocolate balls in it, but it is the right size to put a lip salve or other small item in it. Once again we used the Envelope Punch Board but this time a piece of 4.5" x 4.5" Designer Series Paper and the first score and punch on the board was at 1.5".

I saved this project to last
There was no chocolate involved with this project just some scoring and cutting of a flat Tag a Bag Gift Bag to make it into one that has a flat bottom and can then be stood up.

Stampin' Up supplies used:

Cracker

Stamp set : Very Merry Tags
Ink : Baked Brown Sugar
Card stock : 12" x 12" Old Olive Textured and a scrap of Cherry Cobbler and Whisper White (the other class used Cherry Cobbler  12" x 12" and a scrap of Old Olive).
Designer Series Paper : Season of Style Designer Series Paper
Accessories : Whisper White Organza Ribbon, 1-3/4" Circle and 2-3/8" Circle Scallop Punches, Cherry Cobbler Dazzling Details, Envelope Punch Board and Simply Scored Scoring Tool or Stampin' Trimmer

Treat Holder

Stamp sets : Label Love and Petite Pairs
Ink : Smoky Slate and Coastal Cabana
Card stock :  Whisper White
Designer Series Paper : Winter Frost Designer Series Paper Stack
Accessories :  Envelope Punch Board, 7/8" Scallop Circle and 1" Circle punches, and Basic Rhinestones

Tag a Bag Gift Bag

Stamp set : Mixed Bunch and A Round Array
Ink : Island Indigo
Card stock :  Whisper White, Pool Party and Island Indigo
Accessories :  Simply Scored Scoring Tool or Stampin' Trimmer, Blossom Punch and Word Window Punch, Island Indigo Baker's Twine, and Basic Rhinestones.

The next few days are going to be busy and very exciting as I am off to my first Stampin' Up! Convention. All my swaps are finished, and we are driving to Manchester tomorrow (Thurs) for two and a half days of Stampin' Up! fun. I'll share my swaps later this week and will try to write a quick post while I am there. I can't promise lots of photos. I hoping that we might get some sneak peeks and I know I will be sworn to secrecy about those.

My last class of the year is being held on 13 December at 7.30 pm. I have some places left so if you are interested in coming along drop me a quick line via email at fiona.whitten11@gmail.com